How to Make Your Own Shipping Label
Creating your own shipping label is a straightforward process that can save you time and ensure accuracy.
Here's a step-by-step guide:
1.Choose a Shipping Carrier:
Decide which carrier you want to use (e.g., USPS, UPS, FedEx).
2.Gather Information:
Collect the necessary details such as the recipient's name, address, and any special instructions.
3.Use a Shipping Software or Online Tool:
Many carriers offer online tools or software to generate shipping labels. For example,
USPS provides a free tool called Click-N-Ship.
4.Enter the Details:
Input the sender and recipient information, select the service type (e.g., Priority Mail, First-Class),
and add any additional services (e.g., insurance, signature confirmation).
5.Generate the Label:
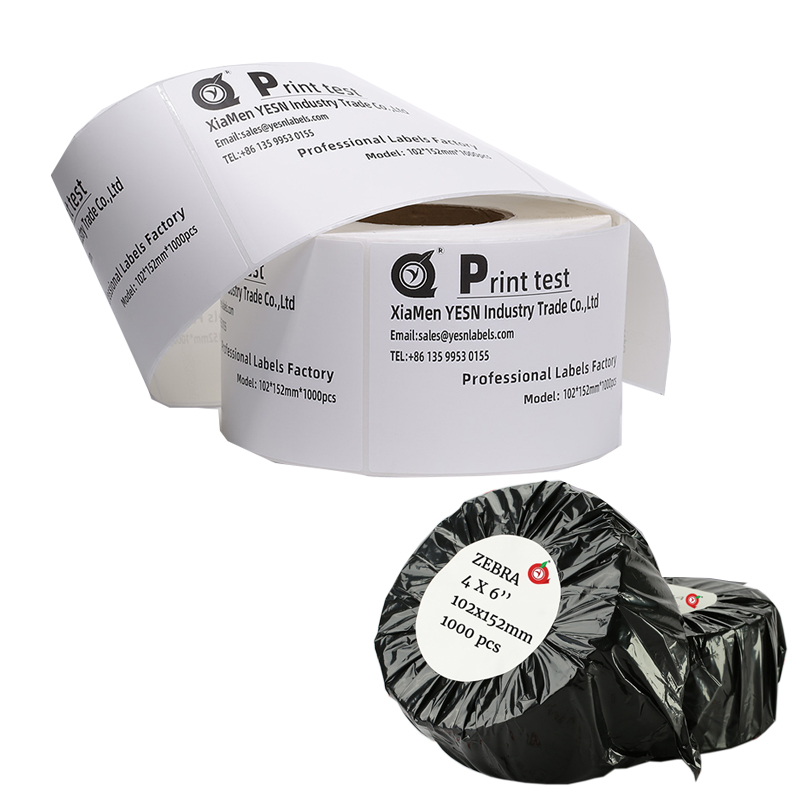
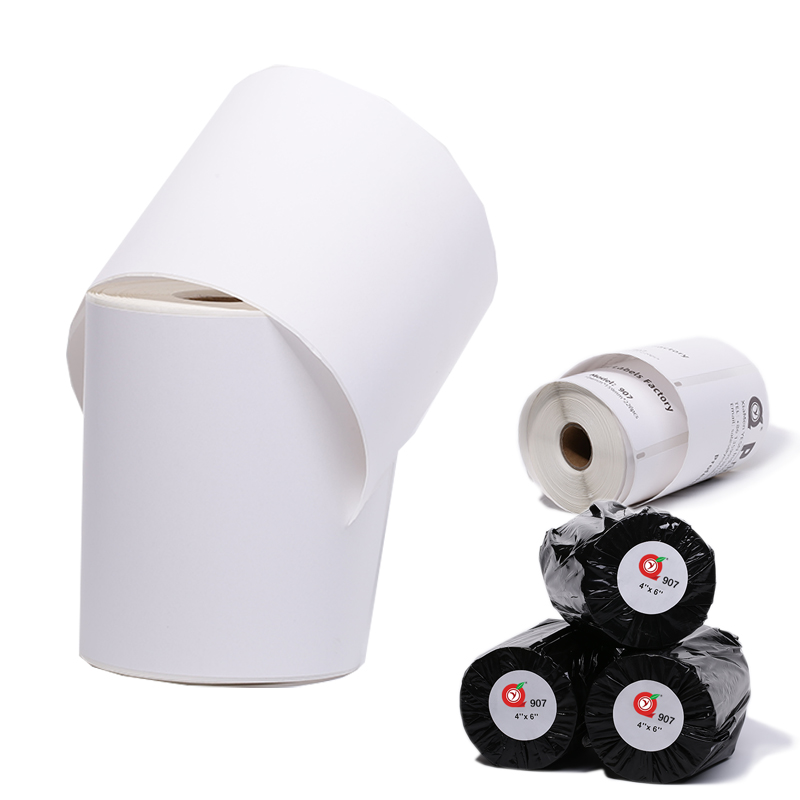
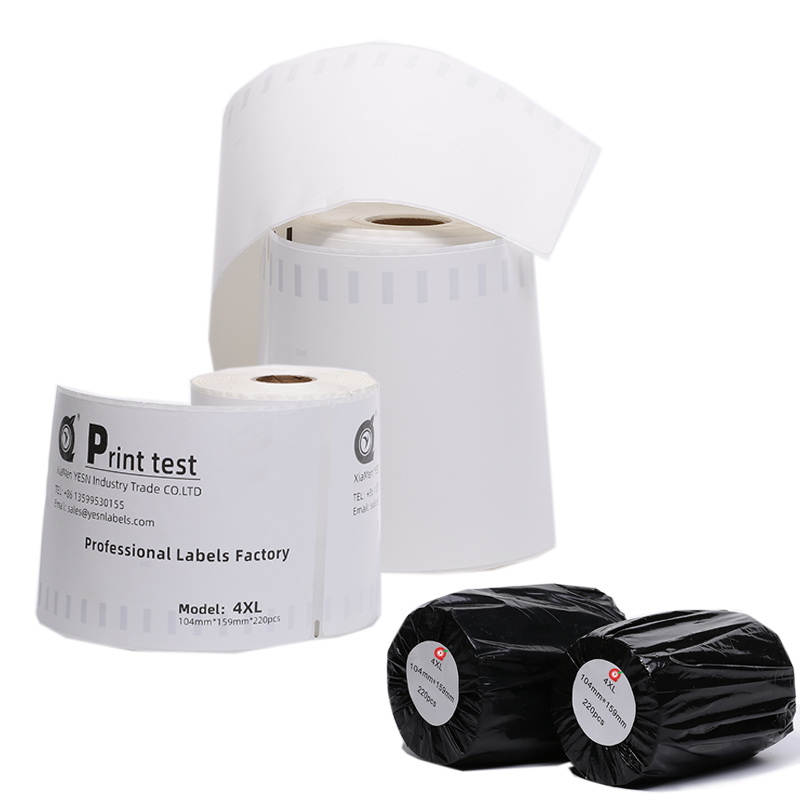
Preview the label to ensure all information is correct, then print it on shipping label paper or regular paper that you can affix to the package.
6.Attach the Label:
Securely attach the label to the top of the package, ensuring it is visible and not covered by any other materials.

Are Shipping Labels Free at USPS?
USPS does not charge for the physical shipping label itself;
however, the cost of shipping is based on the service you choose and the weight and dimensions of your package.
Here’s how it works:
1.Free Label Generation:
You can generate and print shipping labels for free using USPS online tools like Click-N-Ship.
2.Shipping Costs:
The actual cost of shipping will be charged based on the service you select (e.g., Priority Mail, First-Class)
and the package dimensions and weight.
3.Payment Options:
You can pay for shipping online using a credit card, PayPal, or a USPS account.

What is in a Shipping Label?
A shipping label contains essential information to ensure your package reaches its destination safely and efficiently.
Here are the key components:
1.Recipient Information:
Full name, street address, city, state, ZIP code, and country.
2.Sender Information:
Your full name, street address, city, state, ZIP code, and country.
3.Barcode:
A unique barcode that helps track the package through the shipping process.
4.Service Type:
The type of shipping service selected (e.g., Priority Mail, First-Class).
5.Tracking Number:
A unique number that allows you to track the package online.
6.Special Instructions:
Any additional notes or requirements (e.g., fragile, handle with care).

How Do I Get a Digital Shipping Label?
Getting a digital shipping label is convenient and can be done from the comfort of your home or office.
Here’s how:
1.Choose a Carrier:
Select the carrier you want to use (e.g., USPS, UPS, FedEx).
2.Sign Up for an Account:
Create an account on the carrier’s website if you don’t already have one.
3.Access the Shipping Tool:
Log in to your account and navigate to the shipping or label creation tool.
4.Enter the Details:
Input the sender and recipient information, select the service type, and add any additional services.
5.Generate the Label:
Preview the label to ensure all information is correct, then download or save it digitally.
6.Print or Share:
Print the label on shipping label paper or share the digital file if you’re using a third-party service to handle the shipping.
By following these steps, you can easily create, obtain, and manage your shipping labels, ensuring a smooth and efficient shipping process.
 +86 13306035080
 Skype: labelpaper
 WhatsAPP: +86 13599530155
 order@yesnlabels.com | sales@yesnlabels.com


 No.8-1 JiuZhanLinLi HeShan XinMin Town TongAn District XiaMen 361100 China
 Phone+86 13306035080
 AddressNo.8-1 JiuZhanLinLi HeShan XinMin Town TongAn District XiaMen 361100 China
 E-amil

